
1. Unpack the modem from the box.
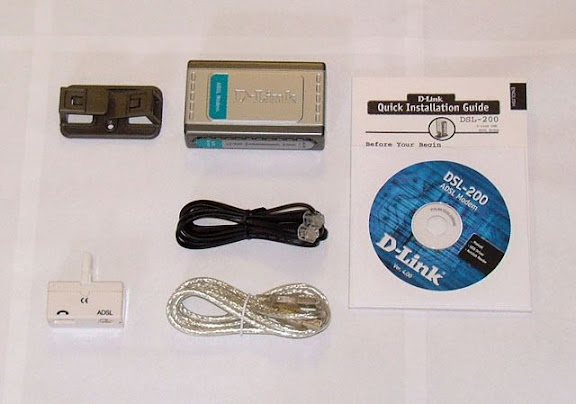
2. Make sure you have all the items:
1x - D-Link DSL-200 modem (USB interface).
1x - Microfilter. Additional microfilters can be purchased when subscribing to Broadband or by contacting Customer Services.
1x - USB connection cable.
1x - RJ11 telephone connection cable.
1x - CD-ROM (includes driver and user's guide)
1x - Quick installation guide.
3. Unplug your telephone from the BT socket and the plug in a microfilter. If there is no telephone you will still require a microfilter. Now plug the telephone into the other end of the microfilter. Make sure that you have added a microfilter to ALL telephone sockets with a device plugged in. Other than the socket connecting to the modem all other sockets without a device plugged in do not require a microfilter.
Note: Filtering a line twice will result in you not being able to connect. If you have an extension cable place a microfilter at just one point of that cable.
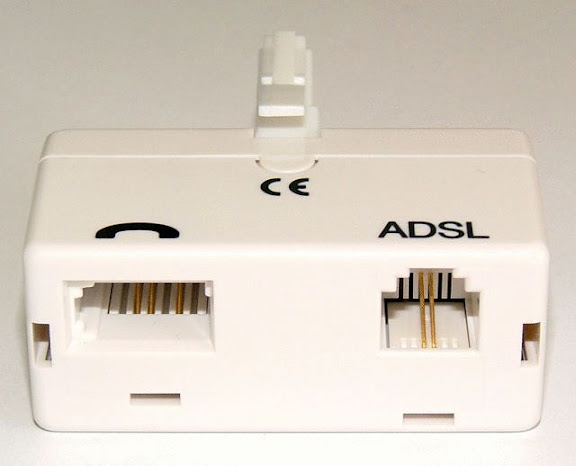
4. Plug one end (any end) of the RJ-11 telephone cable into the microfilter - the one shown on the right in the picture.
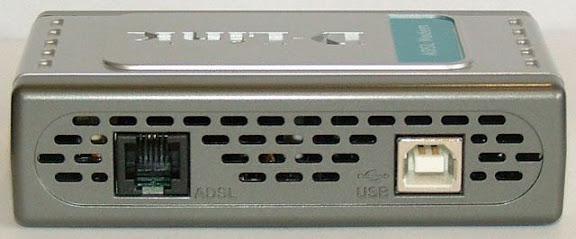
5. Plug the other end of the RJ-11 telephone cable into the socket on the back of the USB modem labelled ADSL.
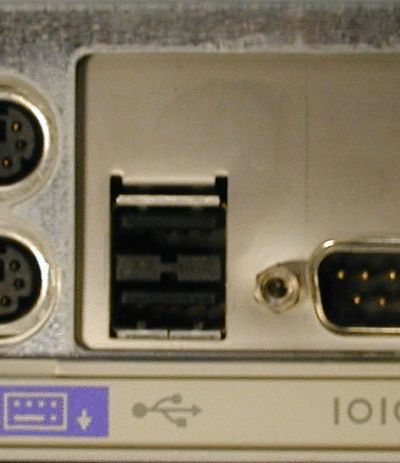
6. Locate a spare USB port on your computer and plug the rectangular end (the one shown on the left in the picture) of the USB cable into it.
7. To install the drivers see this document: Installing The D-Link DSL-200 USB Modem (New Model) On Windows 98.
The software will prompt you to plug in the cable.
1 comments:
thanks for sharing this article...
budiawanhutasoit
Post a Comment