

Here is on how-to portforward it.
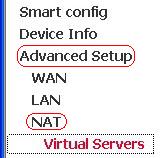
Step 1. Click on the Advanced Setup, NAT and then Virtual Servers.
Step 2. Click Add

Step 3. Select, Custom Server and fill-in a desire service name. Next, Server IP Address: is the IP address of the PC that Bitcomet Client installed. Then, External Port start and end is the port of Bitcomet that is being blocked. Click Save/Apply to save the configuration setting.
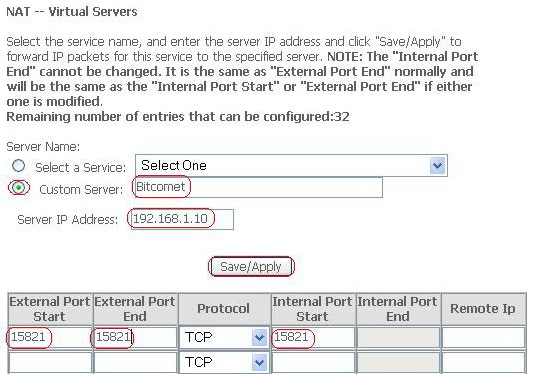
Configuration setting have been save and the Bitcomet port is already open.

Now, Bitcomet port is open and you can get the best download speed. As you can see in the screenshot.

0 comments:
Post a Comment